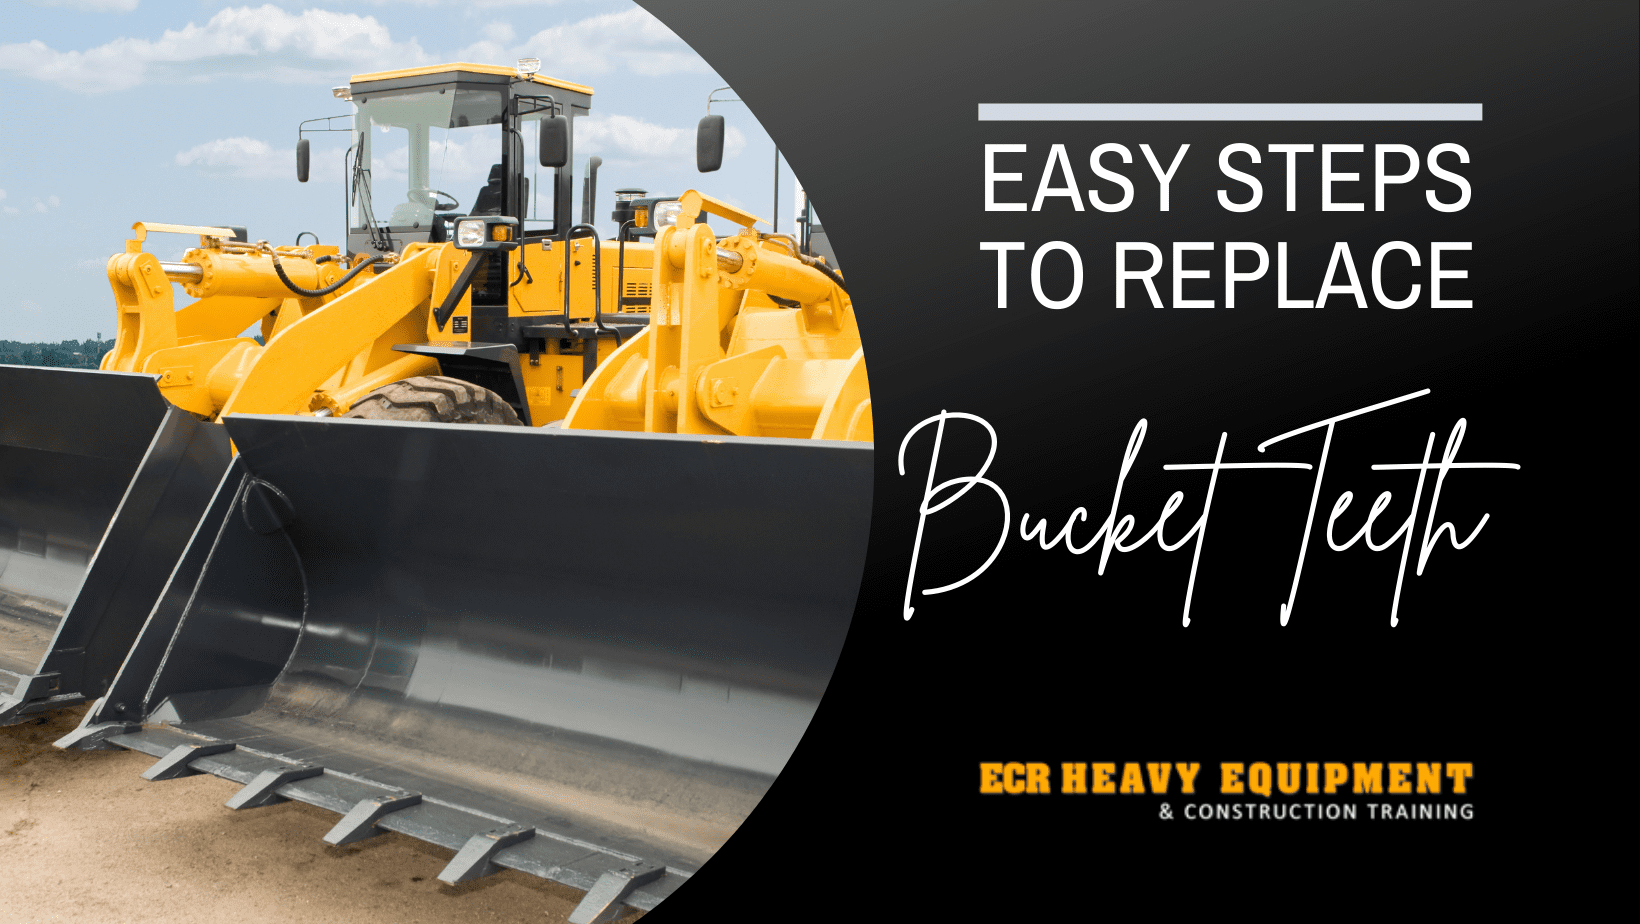
Replacing bucket teeth on equipment can seem like a daunting task, but with the right instructions it can be a quick and easy process. In this blog post, we will outline the steps necessary to replace teeth on an excavator bucket. By following these simple steps, you can have your equipment up and running again in no time!
First, you will need to gather the following materials:
Now that you have all of the necessary materials, you are ready to begin! The first step is to remove the old bucket teeth. This can be done by using a chisel and hammer to break them off at the base. Once all of the old teeth have been removed, you will need to use a punch to drive out the old tooth pins. Now simply take your new bucket teeth and insert them into the holes left by the old teeth. Finally, use a new tooth pin (or two) to secure the new teeth in place.
And that’s it! You have now successfully replaced the bucket teeth on your excavator. By following these easy steps, you can keep your equipment running like new for years to come. Thanks for reading and we hope this was helpful!
Thank you for checking out our article! Have a great day!


