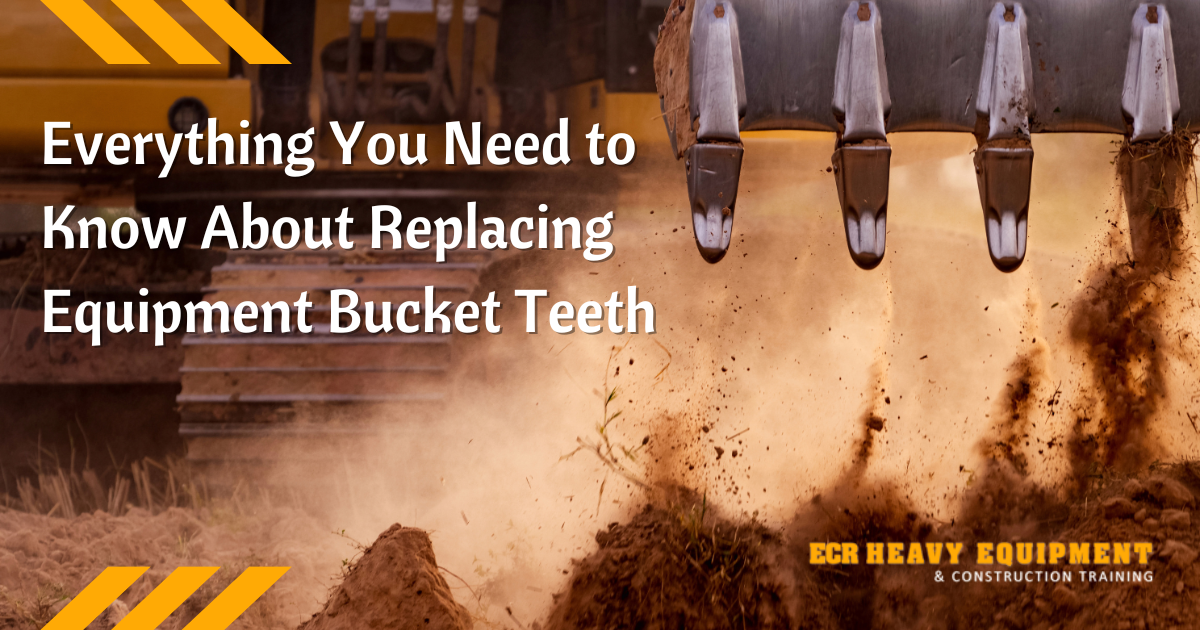
Changing your equipment bucket teeth can be a daunting and time-consuming task, but it doesn’t have to be. By understanding the details of replacing bucket teeth, you can minimize downtime and maximize production. Here, we’ll provide all the information you need to know about replacing your equipment’s bucket teeth safely and efficiently. Keep reading to learn how to replace equipment bucket teeth with ease!
When it comes to replacing bucket teeth, the first step is to inspect them. Make sure that all of the parts are in good working condition and that there are no cracks or broken pieces. Look for any wear or damage on the teeth so you can identify which ones need to be replaced. After inspecting your bucket teeth, determine which type of tooth replacement you need for your machine– either standard or heavy-duty style.
Once you have identified the type of tooth replacement you require, it’s time to select a replacement tooth from a reputable supplier. Choose from a variety of sizes and shapes depending on your needs. Ensure that the replacement fits properly and securely before installing it onto your equipment. Installation typically involves removing old bolts and nuts and replacing them with new ones to secure the tooth in place.
Finally, once you have installed the replacement bucket teeth, it is important to check for proper alignment and tightening. This can be done by rotating the tooth forward and backward, then turning it slightly left and right. If everything looks good, your machine should now be ready to go!
Replacing your equipment’s bucket teeth doesn’t have to be a difficult task. By understanding the details of how to replace them correctly, you can minimize downtime while maximizing production. With these tips in mind, you should now feel confident when replacing your bucket teeth– good luck!